
What is LX Starter?
LX Starter is a platform that offers a modern interface to send email circulation notices. Staff can set up notices, edit emails, view patron records and review email metrics. Vendor provided LX Starter documentation can be found here: https://innovative.libguides.com/LXStarter. The numbered training videos will be most useful; Skip the “Consortia Dashboard” video. It will be helpful to have your username set before delving into the training videos.
Request a user account
- Put in a helpdesk ticket to request a user account. Include the name and email address of each person needing a login.
- A user account will be created, and the account holder will get an automated email with a link to set a password. The email will come from Vega or Amazon Web Services. The link expires in 12 hours, so this person should be ready to get the message and set their password. This user will be able to add other staff users down the road.
- Once you have your login and password, the MORE-specific link for the LX Starter interface, where you’ll design, schedule, and manage notices is https://indhd.na4.iiivega.com/lxadmin
Library Settings
Profile
After logging into LX Starter, you’ll need to enter settings for your library.
- From the drop down menu in the upper right corner under your username, choose Library Settings.
- Complete the Profile section.
- In the Overview section, enter the following information:
- Library Display Name
- Website URL
- Primary Email
- Library Timezone
- In the Library Clock section, select one of the following formats:
- 12 hour format
- 24 hour format
- Select Save Profile.

Branding
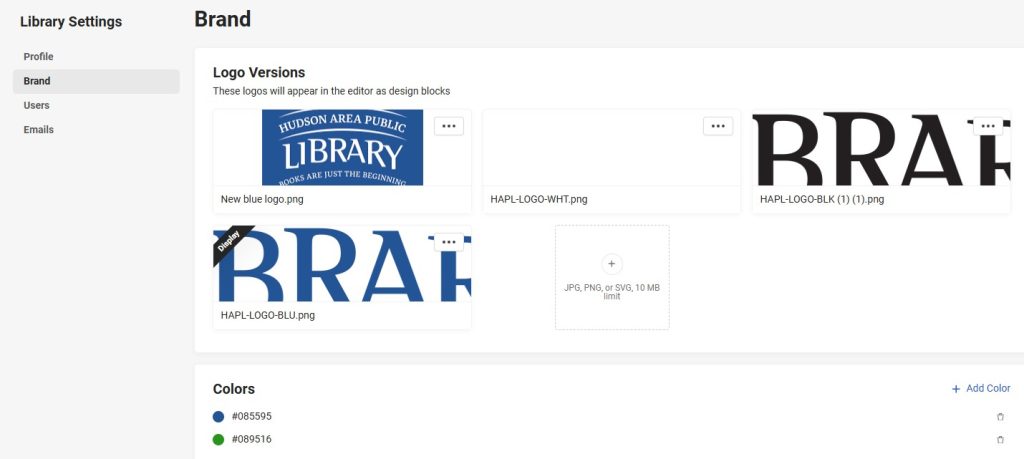
Use the Brand page to add logo images to the email editor and to define your brand colors. You can also add logo images that appear as design blocks in the email editor. You can add images in JPG, PNG, or SVG format. The images should be 100 pixels tall and 100 to 400 pixels wide to fit most screen sizes.
To define the library brand
-
- Select the down arrow next to your name in the upper-right section of the page.
- Select Library Settings.
- Select the Brand tab.
- In the Logo Versions section, do one or more of the following:
Users
If you are assigned the Super Admin or Admin role, you can add users, remove users, and assign system roles. After you add a user, the system sends an email from [email protected] to the new user. The email contains a link for the user to create a password. The link is valid for 12 hours. If the link expires, send in a helpdesk ticket to request the link be resent. To add a new user:
- Select the down arrow next to your name in the upper-right section of the page.
- Select Library Settings.
- Select the Users tab.
- Select Add User.
- Enter the user’s first and last name.
- Select from the following system roles:
- Admin
- Manager
- Reviewer
- Enter the user’s email address.
- Select Add User.

Emails
After you save your email address, the system sends a verification email from Amazon Web Services. You must verify your email address within 24 hours. The link expires after that time.
Sender email address
- Select the down arrow next to your name in the upper-right section of the page.
- Select Library Settings.
- Select the Emails tab.
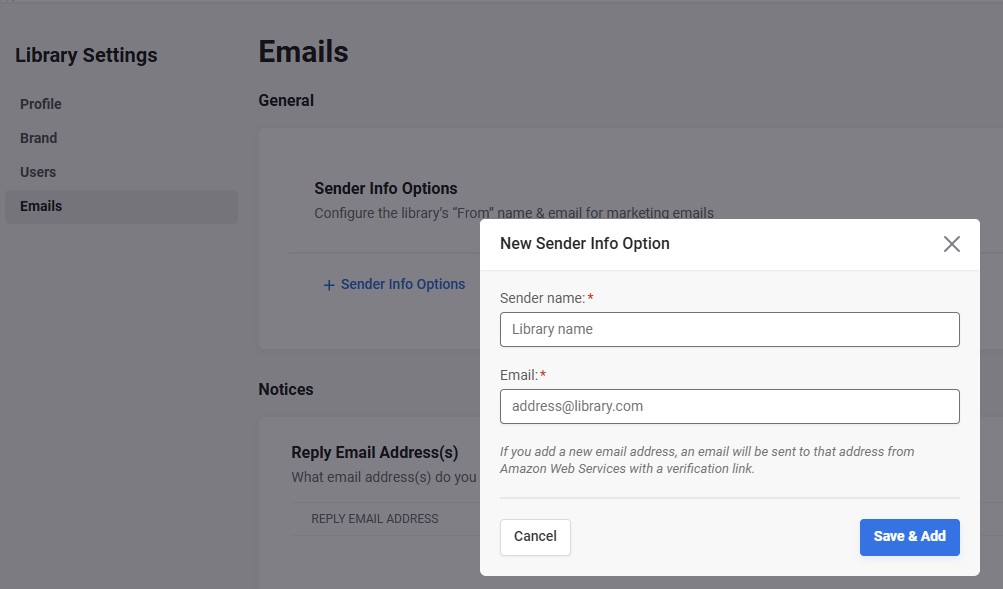
- Select + Sender Info Options.
- Enter the sender name. This could be the library name.
- Enter the email address.
- Select Save & Add.
- To verify a library sender’s email address, look for an email from Amazon Web Services. The email address is “Amazon Web Services <[email protected]>.” The subject is “Amazon Web Services–Email Address Verification Request.”
- Select the link in the email.
- Return to LX Starter and confirm that the email address status is Verified.
You can add an email address so that when patrons reply to a notice, the reply goes to that email address. If you don’t add a reply email address, the email reply goes to the sender email address.
Reply email address
- Select the down arrow next to your name in the upper-right section of the page.
- Select Library Settings.
- Select Emails.
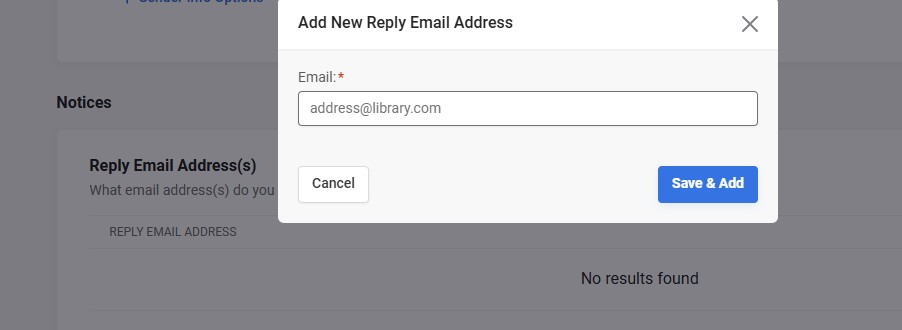
- In the Notices section, select + Reply Email.
- Enter the email address that you want patron replies to go to.
- Select Save & Add.
URL for Notice Items
This section has been prefilled for you. If any information is missing, enter the following:
- Catalog provider: Biblio Core
- Catalog domain: https://more.bibliocommons.com
- Site number: S164C
Default Contact Method
You can define the default contact method to use when a patron’s email notices either bounce or go to their spam folder. The patron’s contact method is automatically updated in the ILS, and the patron receives notices through this method. If you update a patron’s email address in either LX Starter or the ILS after a hard bounce, the contact method is automatically set to Email and the patron can receive notices through email again.If patrons mistakenly mark an email as spam and they want to receive notices through email again, you can change the contact method in either LX Starter or the ILS.
To define the default contact method:
- Select the down arrow next to your name in the upper-right section of the page.
- Select Library Settings.
- Select the Emails tab.
- In the Notices section, under Default Contact Method, select from the list of contact methods.
Configure Dates
You can configure the way you want dates to appear in email notices.
To define the email date format
- Select the down arrow next to your name in the upper-right section of the page.
- Select Library Settings.
- Select the Emails tab.
- In the Notices section, under Configure Dates, select one of the following date formats:
- dd-mm-yyyy
- mm-dd-yyyy
- yyyy-mm-dd
- Select one of the following character formats:
- alphanumeric
- numeric
Creating Notices
LX Starter documentation can be found here: https://innovative.libguides.com/LXStarter. Each library will need to publish these notices:
- Hold Pickup
- Hold Cancellation
- Overdue 1 (may be helpful to include renewal information)
- Overdue 2 (may be helpful to include renewal information and potential for billing)
- Overdue 3 (needs to be published, but will not be sent to patrons)
- Overdue 4 (needs to be published, but will not be sent to patrons)
- Overdue 5 (needs to be published, but will not be sent to patrons)
- Overdue 6 (needs to be published, but will not be sent to patrons)
The direct link to renewals in the public catalog is: https://more.bibliocommons.com/user/login?destination=%2Fcheckedout When you first use LX Starter, all notices display the status Setup Required. Each Notice is prebuilt and allows customization for your library. Creating Design Blocks will be useful to help create a consistent look to your notices. You can edit the notices as you like. You can also confirm that your notices contain the minimum required merge tags. 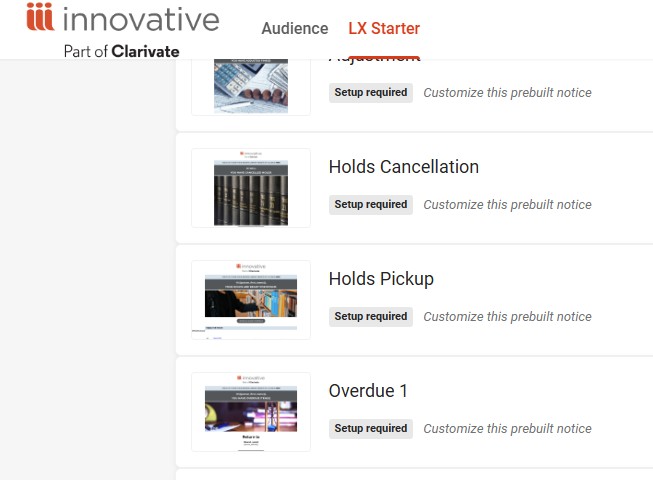
To set up notices
- On the Sequences tab, select a notice that has the status Setup Required.
- In the email editor, edit the notice as desired.
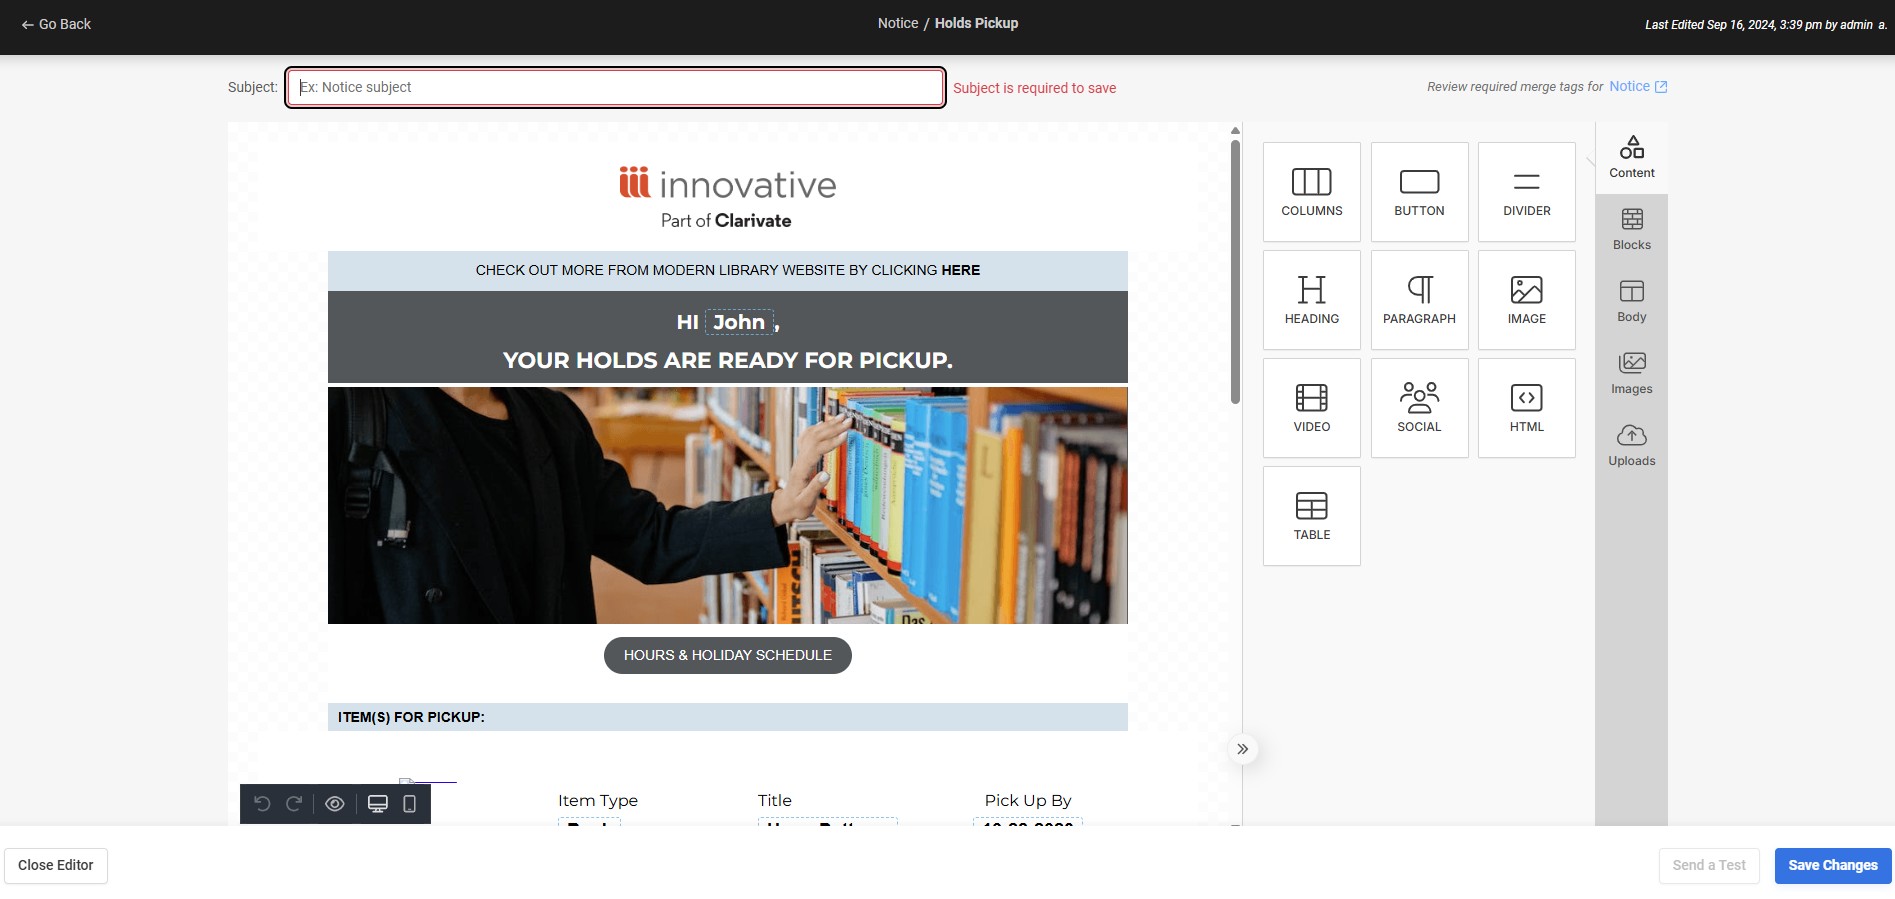
- When you’re ready, send a test email to confirm that the email looks the way you want.
- Select Send a Test.
- Enter the Recipient Email Address(es).Patron ID and Item ID are not needed to test. The system uses the provided patron and item IDs to fetch data from the ILS. If no IDs are entered, the notice is populated using default sample data to fill in merge tags.
- Select Send Test Email.
- If you’re satisfied with the email design, select Save & Close.
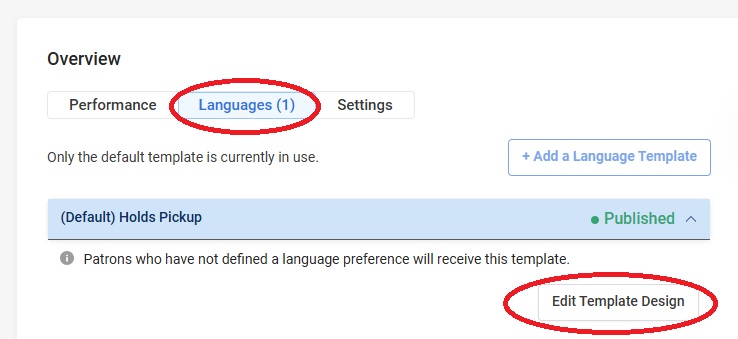
- If you want to continue editing at a later time, you can reopen the editor by clicking on the designed notice, choosing the Languages tab and then clicking on Edit Template Design.
 Before being able to publish a notice the schedule settings must be set. To do this, choose a notice and click on the Settings tab. Enter the Name and email for the From section, email address in the Reply section and set the schedule that works best for your library. Then click Save Settings.
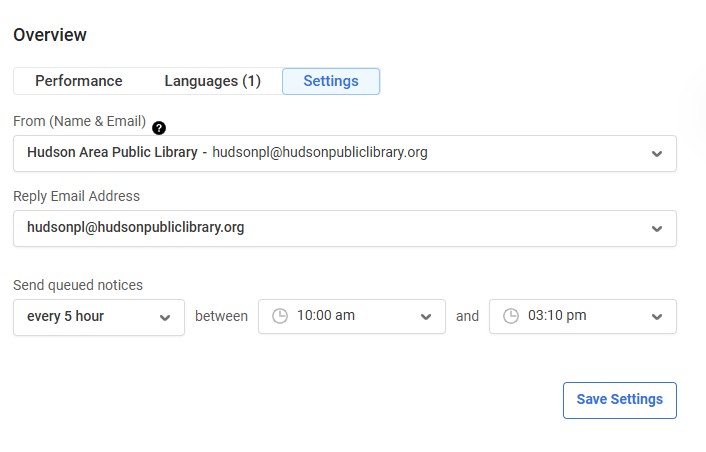
Managing Notices
In notice activity logs you can see whether a bounced email was a hard bounce or a soft bounce. The info button may give a reason. Soft bounce – Email hasn’t been delivered but the server is still trying until it is sent successfully, or it becomes a hard bounce. The patron’s contact method can be changed. Hard bounce – Email failed. Send notices by some other method. LX Starter will change the patron notice preference to the default option and block the email address. A recording of ways to managed bounced emails can be found here.