
When removing materials from the library’s collection, staff must also remove the item record in Sierra, which represents the library’s copy of a title. This page describes a few ways to delete item records:
- The slowest option is to delete One-by-one from Search/Holds. This method leaves little room for error because it involves accessing and displaying the item record before deleting, allowing staff to verify details about each item being deleted. Most Sierra users/logins can use this method.
- The quickest option is to use the Delete Records function to Scan/Delete one-by-one. Staff can scan a series of item barcodes, then delete all item records at once. This option is only available to “scoped” Sierra users/logins, usually assigned to specific staff members, not general circulation logins.
- If your library wants to keep detailed record of deleted items, use the Batch delete from a review file option. This is a multi-step process of changing item status codes to “withdrawn,” using Sierra’s Create Lists function to collect “withdrawn” records, gathering statistics on the items marked “withdrawn,” then deleting those item records all at once. This option is only available to “scoped” Sierra users/logins, usually assigned to specific staff members, not general circulation logins, and requires the use of several Sierra functions that may not be familiar to all users.
Note: if you only need a count of items deleted from your collection, you can use any item deleting method and find this info in a Deleted Items report in Decision Center: Evaluation > Collection > Item Trends > Owning Location or Shelf Location – Deleted Items
One-by-one from the Search/Holds function
- Search for the item record
- From the item record’s Summary view, select the item to be deleted. Then, either:
- Go to the File menu and select File>Delete Item record, or
- With the View set to ITEM, select the button:

- A Delete Record(s) pop-up dialog box will appear. Select Yes to delete the record or No to return to the item record.

- Close the record by either: clicking the Close icon, Alt+Q, or selecting File>Close.
- If your item happens to be the last item on the bib record:
- A pop up box will come up asking if you want to delete the bib record as well. Click on Yes.
- If the bib record can’t be deleted–usually because the catcode = x–no further action is necessary. IFLS staff regularly delete these records and update holdings in OCLC as needed.
Scan/Delete one-by-one from the Delete Records function
The Scan/Delete feature makes it easier to weed out unwanted items by allowing you to delete multiple item records at once using a barcode scanner.
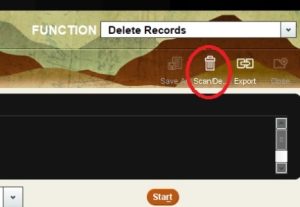
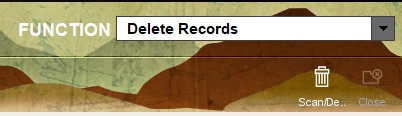
- Open the Delete Records function: from the Function list, select Delete Records.
- Open the Scan/Delete Panel
- Click the Scan/Delete button.
- The Scan/Delete Items panel will open.
- Scan Barcodes
- Scan the full barcode of each item you want to delete.
- Each successfully scanned item will appear in the list with a checkmark
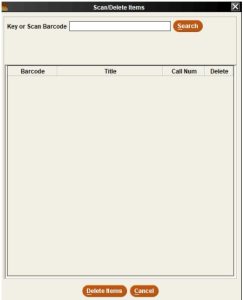
- in the Delete box.
- Review the list
- Check the list of scanned items.
- If you want to keep any item, uncheck the box in the Delete column.
- Only checked items will be deleted. Click Delete items.
- Delete the items
- Click Delete Items.
- When prompted, click Yes to confirm the deletion.
- Sierra will delete the selected records and display the Process Summary window.
- This window shows:
- Successful Deletions
- Errors (if any items failed to delete)
- After Deletion
- Review the Process Summary.
- If the deletions are correct, click Close to return to the Delete Records window.
- Once you click Close, you cannot restore the deleted records.
- If you deleted items by mistake, click Restore, then Yes to undo the deletions.
- The restored items will appear on the Restored Deletions tab.
- Finish: click Close to exit the Delete Records window.
Batch delete from a review file
This approach works best when you need a statistical snapshot and/or title list of deleted items. This info has to be gathered before records are deleted.
Note: if you only need a count of items deleted from your collection, you can use any item deleting method and find this info in a Deleted Items report in Decision Center: Evaluation > Collection > Item Trends > Owning Location or Shelf Location – Deleted Items
- Change the status of item records you want to delete to w – WITHDRAWN, either one-by-one Sierra’s Search/Holds function, or with Rapid Update in Circa
- In Sierra’s Create Lists function, create a review file of records you want to delete
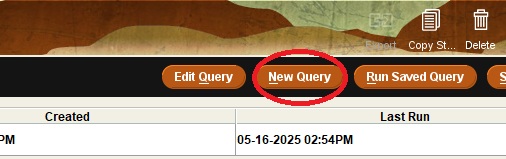
- Once the list is created, go to the Statistics function.
- Select the New Query button.
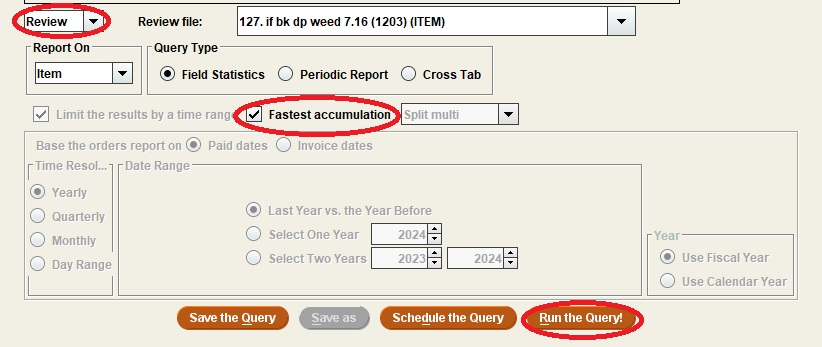
- Enter the name of the weeded list in the Results File Name.

- Click on the dropdown that says “Range” and change to “Review.”
- Select the review file you created.
- Check the box for Fastest Accumulation and click Run the Query.
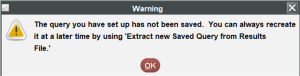
- Click OK when the warning box alerts you that the query has not been saved.
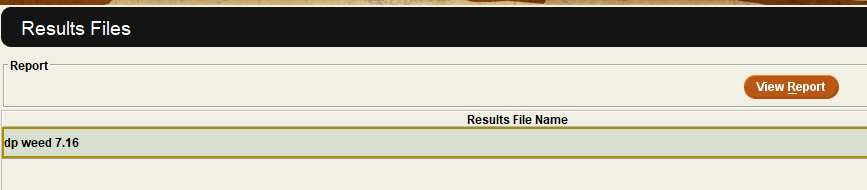
- When the query is complete, highlight the line in the Results file and click on View Report.
- Select All fields on the left side of the window.
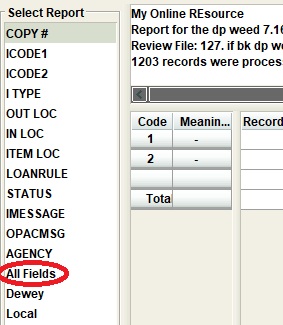
- Click the Export button on the upper right.

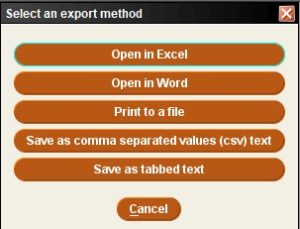
- Select Open in Excel.
- Save the spreadsheet.
- Go to the Delete Records function.
- From the drop down, find the review file containing the records you want to delete.
- Click Start. The records will appear in the browse pane.

- Specify to delete the listed item records ONLY.
- Select Delete records.
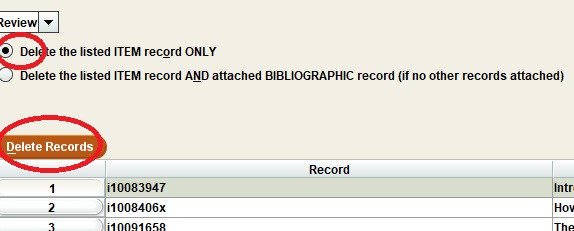
- A warning message will appear asking if you want to delete these items. Click Yes.

- When complete, a process summary will display. Click Close.